
Ear piercings are one of the most expressive and customizable forms of body jewelry. Whether you’re getting your very first piercing or planning a full curated ear, understanding the different piercing placements — and how much they typically hurt — helps you pick the perfect spot for your anatomy and style.
This guide breaks down each piercing placement shown in the chart: what it’s called, where it’s located, typical pain levels, and what jewelry works best. The pain chart included is for reference only, as tolerance varies from person to person.
🔹 Ear Piercing Placements Explained
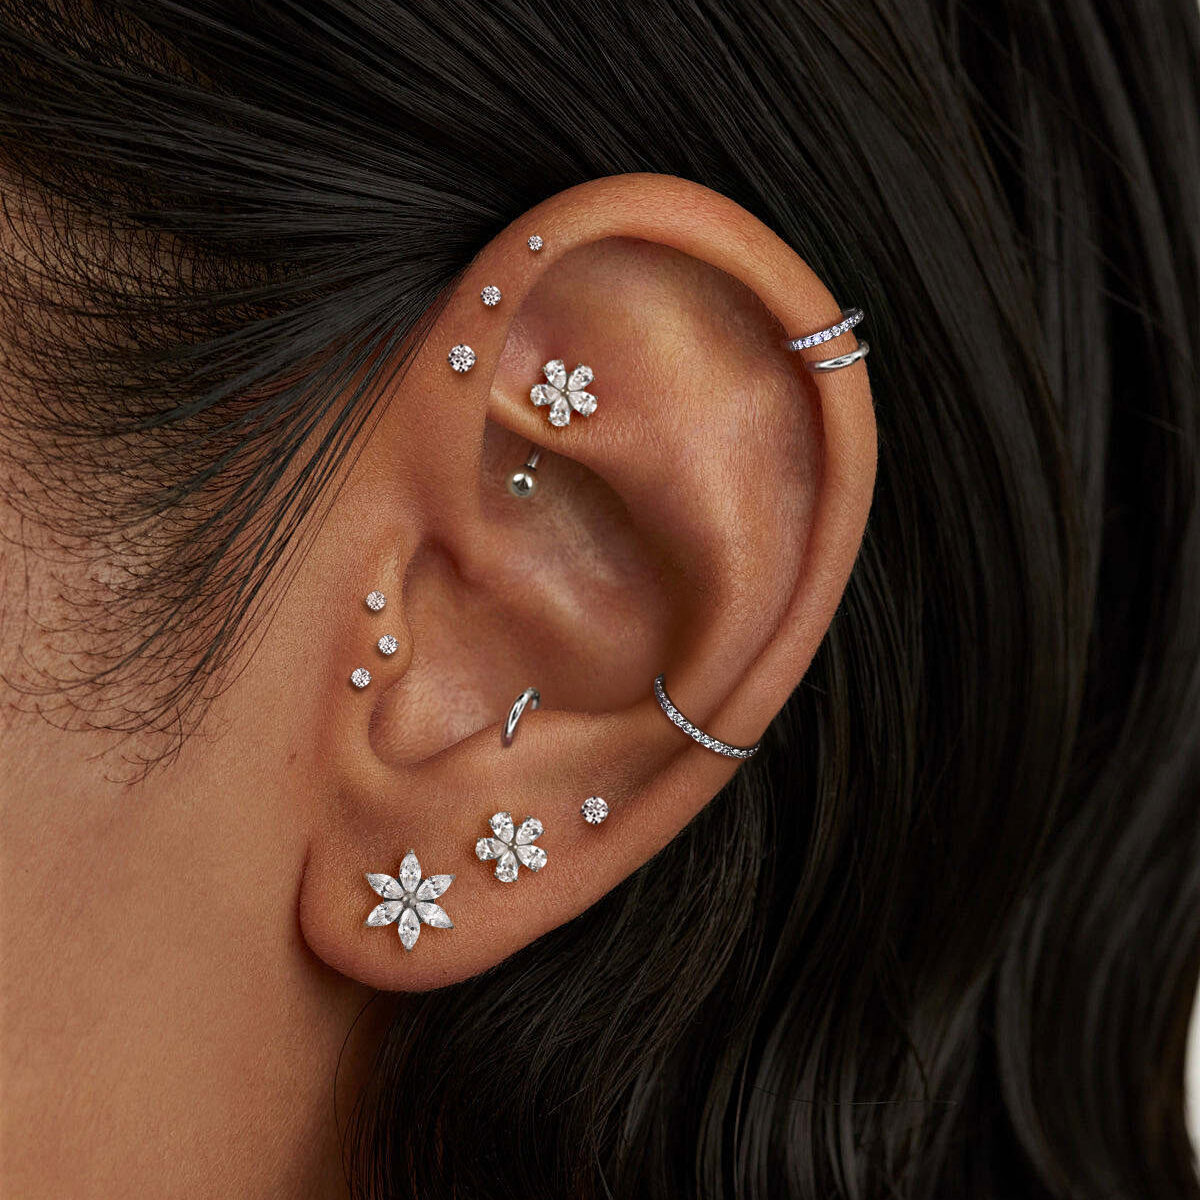
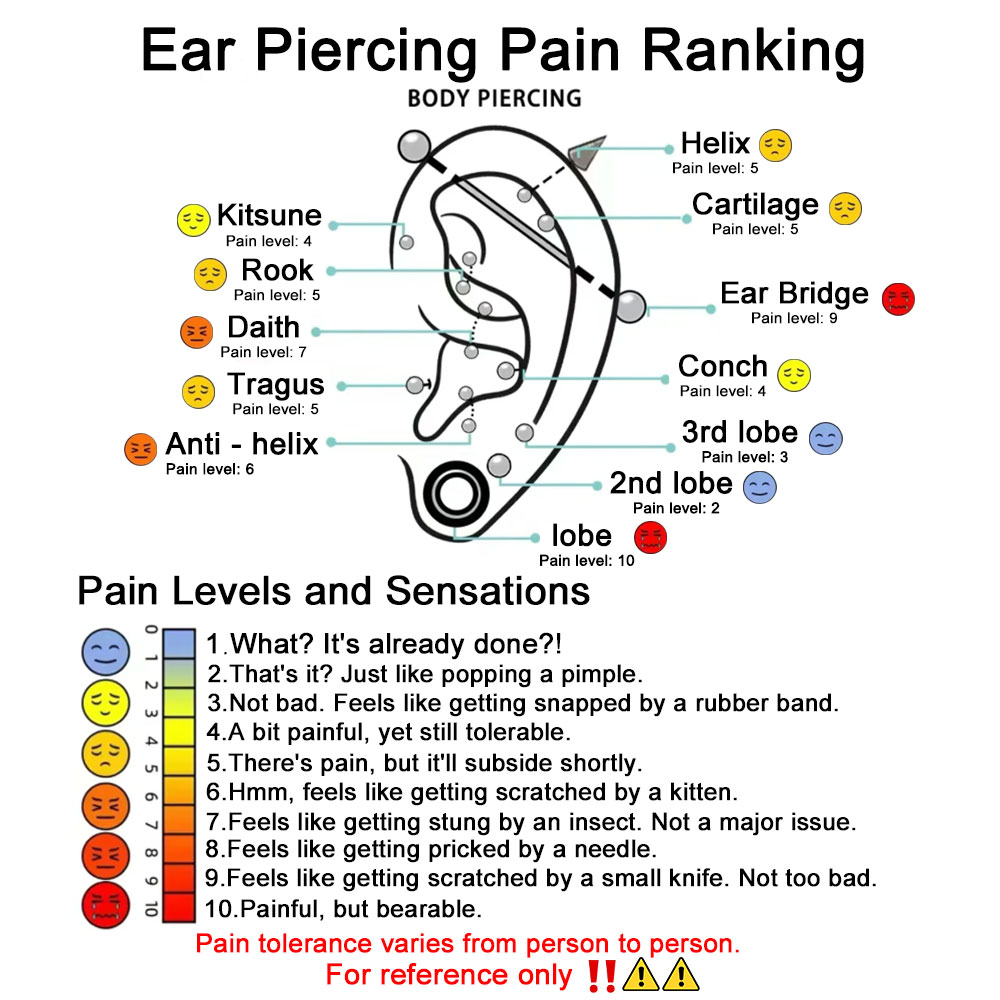
1. Earlobe Piercing
Pain Level: 1–2 / 10
The classic beginner-friendly piercing. Soft tissue means quick healing and minimal discomfort.
Jewelry: studs, hoops, huggies, plugs, tunnels.
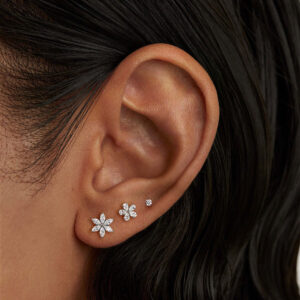
2. Helix Piercing
Pain Level: 4–5 / 10
A cartilage piercing located on the upper ear rim. Very popular and easy to style.
Jewelry: hoops, flat back studs, barbells.
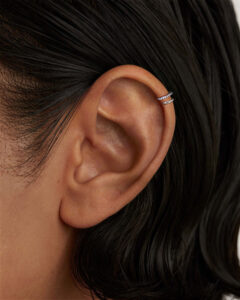
3. Forward Helix
Pain Level: 4–5 / 10
Placed on the front part of the helix. Looks great with tiny studs or clusters.
Jewelry: flat backs, small studs.
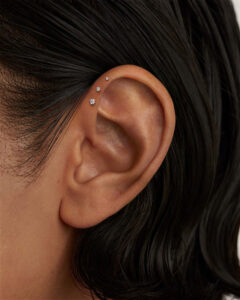
4. Flat Piercing
Pain Level: 4–6 / 10
Done on the flat cartilage surface near the upper ear. Perfect for decorative clusters.
Jewelry: flat back studs, decorative tops.
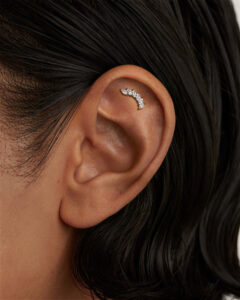
5. Conch Piercing
Pain Level: 4–6 / 10
Located in the center “shell” of the ear. Available as inner or outer conch.
Jewelry: hoops (outer), flat backs (inner).
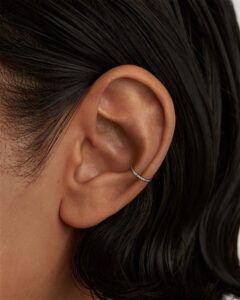
6. Tragus Piercing
Pain Level: 5 / 10
Pierced through the thick cartilage next to the ear canal.
Jewelry: small studs, spikes, flat backs.
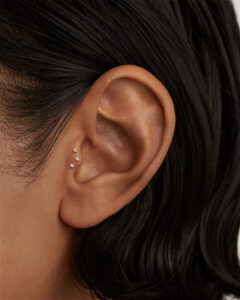
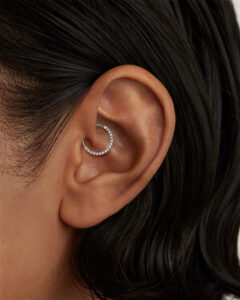
7. Daith Piercing
Pain Level: 6–7 / 10
Located in the inner ear fold. Stylish and often paired with decorative clickers.
Jewelry: hoops, heart-shaped rings, clickers.
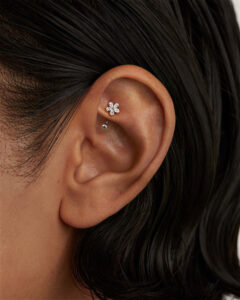
8. Rook Piercing
Pain Level: 5 / 10
Pierced through the upper inner ridge between the anti-helix and daith.
Jewelry: curved barbells, small hoops.
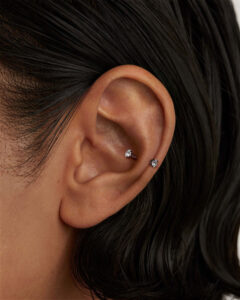
9. Snug Piercing
Pain Level: 6–7 / 10
Passes through the mid-inner cartilage. Unique and uncommon.
Jewelry: small barbells.
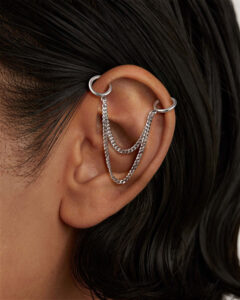
10. Industrial Piercing
Pain Level: 7–9 / 10
Two piercings connected with a long barbell. Dramatic and eye-catching.
Jewelry: industrial barbell.
11. Orbital Piercing
Pain Level: 3–5 / 10
Two separate piercings connected with a single hoop.
Jewelry: hoops.
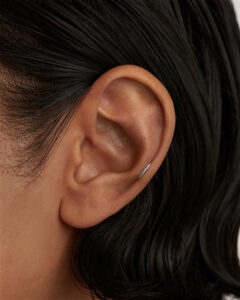
🩶 Understanding Ear Piercing Pain Levels
Pain descriptions based on common client experiences:
- Levels 1–2: “Wait—it’s done?” Very quick pinch.
- Levels 3–4: Feels like a soft rubber band snap.
- Levels 5–6: Noticeable pressure, but tolerable.
- Level 7: Sharp, quick sting (like a bug bite).
- Levels 8–9: Intense scratch-like sensation, still bearable.
- Level 10: Extremely rare — only for the thickest cartilage areas.
Remember: healing matters more than the piercing moment.
✨ How to Choose the Right Piercing for You
Based on Anatomy
- Small ear: forward helix, rook, flat
- Large cartilage area: conch, industrial
- Thicker cartilage: threaded flats may be more secure
Based on Lifestyle
- Side sleeper → avoid fresh helix/conch
- Headphone user → tragus may interfere
- Office-friendly → flat, conch, helix studs
Jewelry Style
Your aesthetic matters too — minimalist, statement, or full curated ear.
⭐ FAQ: Ear Piercing Questions Answered
Industrial, snug, and daith tend to feel the strongest due to thicker cartilage.
General healing times:
- Lobe: 6–8 weeks
- Helix / Cartilage: 3–6 months
- Tragus / Daith / Rook: 6–12 months
- Industrial: 6–12 months
- Conch: 6–9 months
Avoid sleeping on fresh cartilage. Use a travel pillow or sleep on the opposite side.
- Titanium (best for sensitive skin)
- Implant-grade stainless steel
- Threadless flat backs for comfort
- Threaded flat backs for secure hold
Avoid cheap plated metals.
Irritation: redness, mild swelling, crusties
Infection: heat, yellow/green discharge, odor, throbbing pain
Seek professional help if symptoms worsen.
Lobe: 6–8 weeks
Cartilage: 3–6+ months
If removing hurts or feels tight → not ready.
Threadless: easy to insert, super comfortable
Threaded: more secure, great for thicker cartilage
Both are safe — choose based on lifestyle.
Yes, but avoid several fresh cartilage piercings on the same side if you’re a side sleeper.
Cartilage has low blood flow, so it takes longer for nutrients to reach the area.
Typical sizes:
- Helix: 6–8 mm
- Tragus: 6 mm
- Conch: 8–12 mm
- Flat: 6–8 mm
Your piercer will measure the ideal length.
Common causes: pressure from sleeping, friction, touching, low-quality jewelry, or improper sizing.
Avoid swimming for 2–4 weeks to reduce infection risk.
No. Rotation delays healing and introduces bacteria.
- Clean with sterile saline
- Avoid touching
- Keep dry
- Don’t sleep on it
- Be patient (cartilage takes months!)